
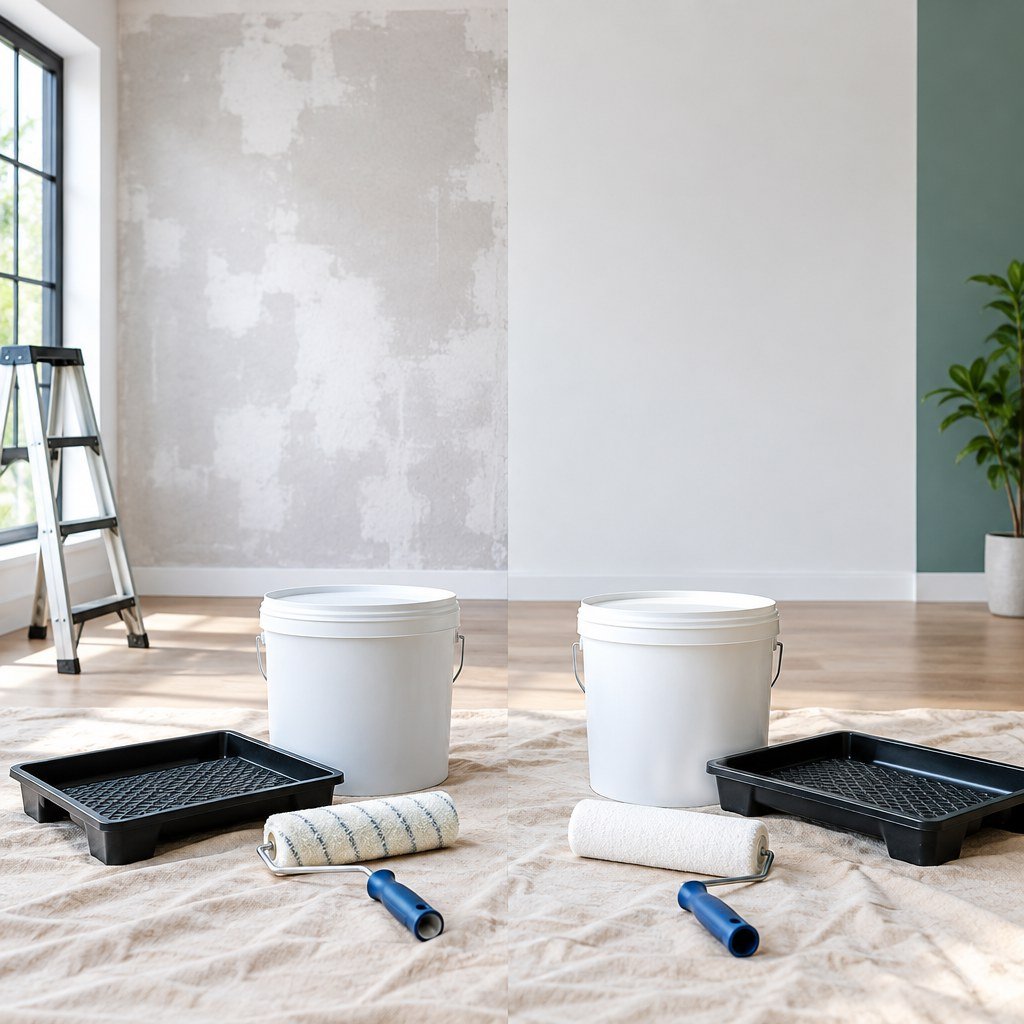
The wall primer vs sealer question comes up when a surface needs preparation before paint. The two words are used differently across products, and some coatings combine functions. The right choice depends on the wall material and condition, existing finish, and the finish coat planned. A primer or sealer cannot replace cleaning, curing or repairs.
Quick answer: Choose primer, sealer or a combined undercoat only when the manufacturer’s system calls for it on your surface. Check substrate compatibility, preparation and topcoat instructions. Repair loose material or the source of dampness before applying paint.
What is a Wall Primer?
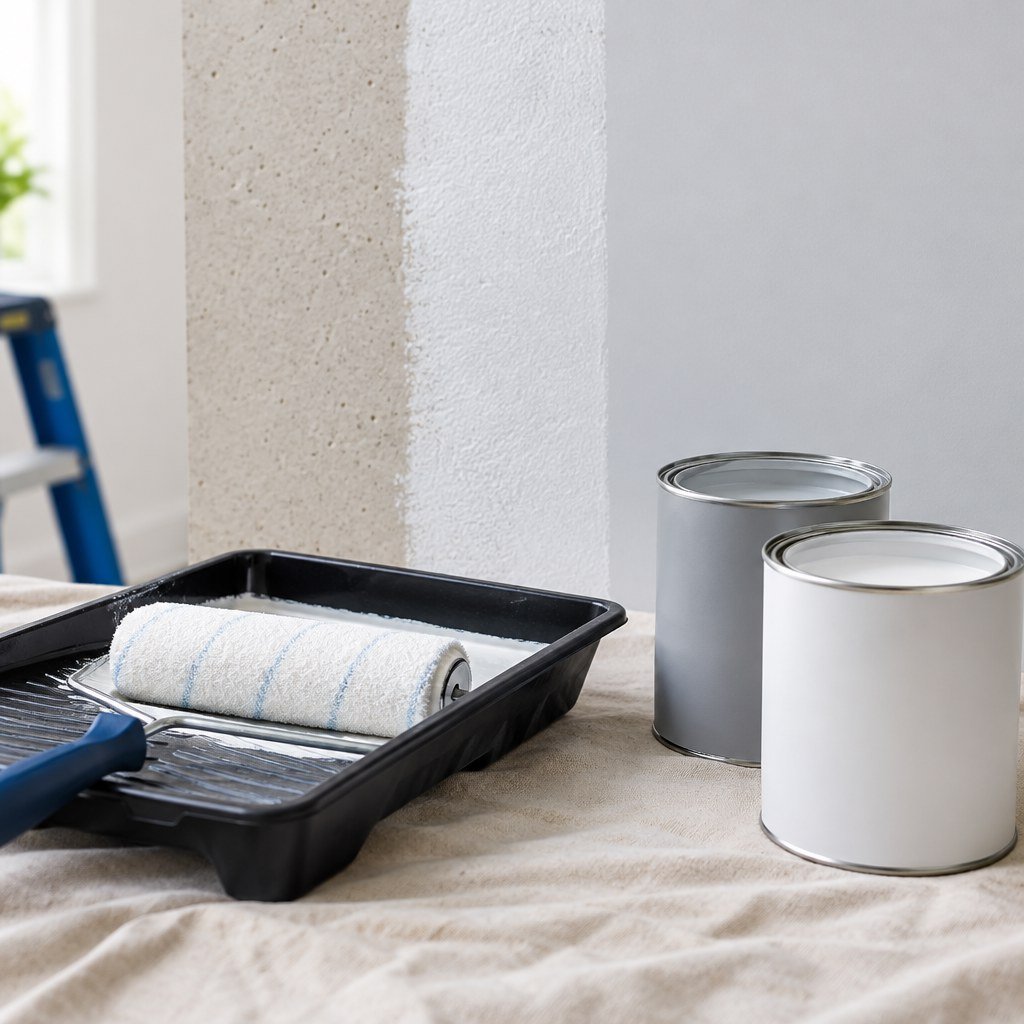
A primer is an undercoat selected to help the next coating adhere and to provide a more even base. The exact product may also help manage differences in porosity or colour, but those benefits depend on the formulation and surface. A primer is not a substitute for cleaning, scraping loose paint or repairing a damaged wall.
For example, Asian Paints describes its TruCare Wall Primer as a primer for water-based wall finishes. Treat this as guidance for that product, not a rule for every coating system; check the manufacturer’s current product information sheet and the topcoat instructions.
What is a Wall Sealer?
A sealer is chosen to address a particular surface condition, such as excessive absorption or a substrate that needs a compatible barrier. Some products are sold as sealers, others as primers or combined primer-sealers. The label alone does not tell you whether the product suits cement plaster, previously painted walls, or a specific topcoat.
Do not assume that every sealer is waterproof or that it can correct active dampness. Find the source of water entry, repair it and allow the wall to dry before coating. Ask the manufacturer or paint professional which system is specified for the actual substrate.
Why Trade Labels Vary Across Brands
Paint terminology varies by manufacturer and product family. One brand’s primer-sealer may combine functions that another brand sells separately. Even within one brand, exterior and interior products can have different uses. Compare the stated substrate, purpose, compatible finish coats, coverage instructions and drying conditions on each product’s current technical sheet.
Use products that the maker lists as compatible. If the instructions call for a primer followed by a sealer, or a single specified undercoat, follow that sequence rather than mixing products based on their names.
Substrate and Coating Compatibility Guide
Choose the undercoat after checking the wall, not before. Look for loose paint, powdering, oil, dust, cracks, salts and damp patches. A coating will not make an unstable surface sound, so remove loose material and address the underlying problem first.
New plaster or cement
Allow new masonry to cure and dry for the period required by the coating manufacturer. Cement-based surfaces can be alkaline and porous; use only a product specified for that substrate and the planned finish coat. Do not apply a standard interior primer over fresh plaster unless its instructions allow it.
Sound old paint
If the existing finish is firmly bonded, clean it and lightly abrade it when the product instructions call for that. A full primer coat may not be necessary for every repaint. Use a spot primer where repairs or bare areas require one, and check whether the new paint can go over the existing coating.
Chalky, porous or patched areas
Powdery surfaces need appropriate preparation and a compatible stabilising product; merely painting over dust can lead to poor adhesion. Fresh filler or patched drywall may absorb paint differently from the surrounding surface. Prime repaired areas with a product listed for that material and check the final coat for an even appearance.
Damp walls
Find and repair leaks, plumbing faults or water entry before painting. Let the surface dry and seek professional help if dampness returns, spreads or is accompanied by salts or mould. Paint and sealer are finishing-system components, not a diagnosis for moisture problems.
Preparation and Application Sequence
A reliable painting system begins with a sound, clean surface. Work through this sequence, while following the product label and technical sheet because drying times and compatible undercoats differ.
- Identify the substrate and remove loose paint, dust, grease and surface contamination.
- Repair cracks and holes with a suitable filler; let repairs dry and sand them as directed.
- Investigate dampness or efflorescence and correct the source before coating.
- Select the primer, sealer or combined product specified for the surface and topcoat.
- Apply the stated number of coats at the recommended spread rate and allow the required drying time.
- Apply the compatible finish coat and inspect it in normal light.
Do not dilute, layer or combine coatings unless their instructions permit it. Ask a qualified painter to assess complex surfaces or recurring moisture problems. Mahakal’s painter service information describes local help. For colour and finish decisions after surface preparation, see this guide to matte, satin and gloss paint finishes.
Wall Primer vs Sealer: Quick Comparison
Use this comparison as a starting point, then verify the exact product instructions.
| Question | Primer | Sealer |
|---|---|---|
| Main role | Prepare a surface for a compatible finish coat | Address a specified surface condition such as absorption |
| When selected | When the substrate or coating system calls for it | When the product is specified for the wall condition |
| What to verify | Substrate and finish-coat compatibility | Purpose, surface compatibility and sequence |
Some products combine these roles. The manufacturer’s instructions determine where and how to use them.
Frequently Asked Questions (FAQs)
Do I always need both primer and sealer?
No. Some surfaces need one specified undercoat, some need a primer-sealer product, and others may not need a full coat. Follow the chosen paint system’s directions.
Can a sealer fix a damp wall?
No coating can repair a leak or stop water entering through a building defect. Find and correct the source, then allow the surface to dry before repainting.
Can I put primer over old paint?
Only if the existing coating is sound and the primer is compatible. Clean and prepare the surface as directed, and test a small area if compatibility is uncertain.
What should I use on new plaster?
Wait for the plaster to cure and dry as specified, then select an undercoat listed for that substrate and the intended topcoat.
How long should I wait before painting?
Drying times vary by product, coat thickness, temperature and ventilation. Use the specific label or technical sheet rather than a generic time.
How to choose the correct undercoat
Before buying, write down whether the wall is bare or previously painted, what it is made from and which finish coat you plan to use. Check that the undercoat is listed for that substrate and topcoat. If labels use unfamiliar terms, compare the full technical sheets or ask the manufacturer for a compatible system rather than relying on colour or a broad claim such as multi-purpose.
Read the directions for surface preparation, dilution, tools, coat count, drying time, ventilation and application conditions. These details vary with the product and the room. A small test patch can help reveal adhesion or appearance problems, but it does not replace required preparation. If the test coat blisters, powders or peels, stop and identify the cause before applying more material. The paint product information is a starting point for learning about the available category, while the manufacturer remains the authority for exact application instructions.
Conclusion and Next Steps
There is no universal winner in the wall primer vs sealer choice. Identify the surface condition, select a compatible coating system and follow the manufacturer’s sequence. Repair dampness and loose material before painting; an undercoat can prepare a surface, but it cannot replace sound repairs.